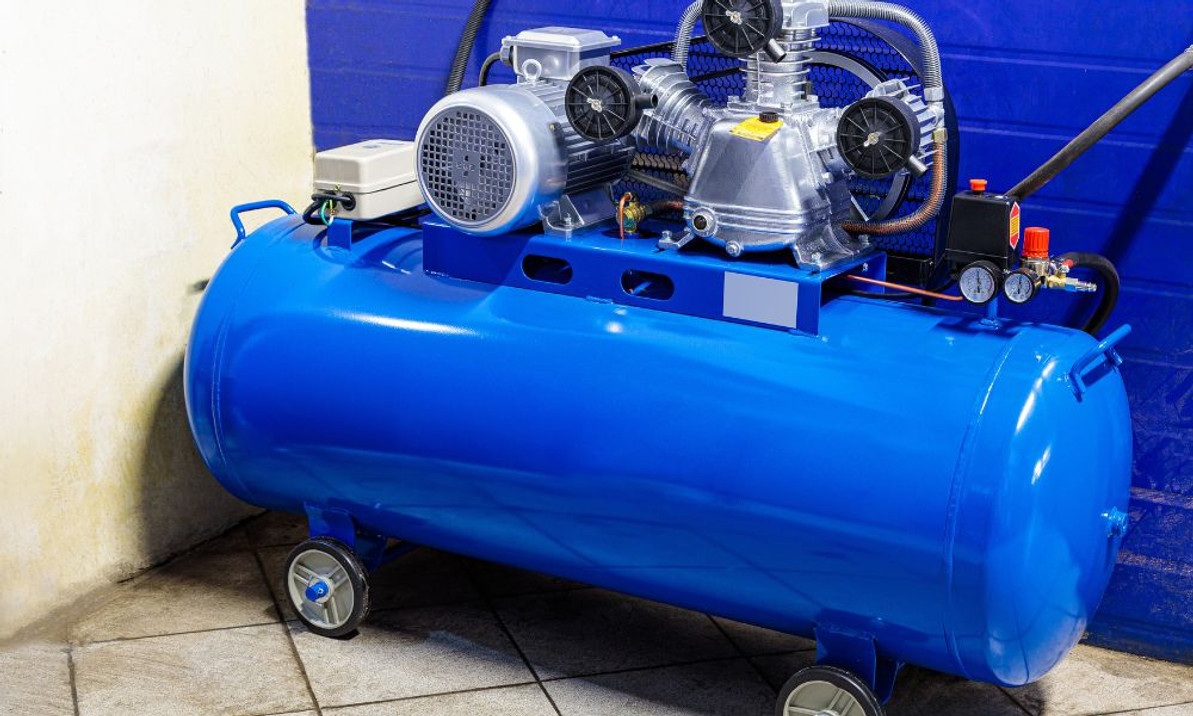
Troubleshooting Tips for a Leaking Air Compressor Tank
A leaking air compressor tank not only reduces efficiency but can also be dangerous if not addressed promptly. Troubleshooting tips for a leaking air compressor tank include ways to identify the source of a leak, and the steps to take for resolving the issue.
What Causes Air Compressor Tank Leaks?
There are several potential causes of air compressor tank leaks, including corrosion (often caused by failure to drain condensation from the tank), loose or damaged components, and even manufacturing defects.
Locating Leaks Using Soapy Water
To locate the source of a leak in your air compressor tank, mix a solution of water and dish soap. Disconnect the compressor from the power source, and disconnect all tools or hoses from the compressor.
Using a brush or spray bottle, apply the soapy water solution to all fittings and external parts of valves, plus seams of the tank. Pay attention to commonly problematic sections such as the air compressor tank check valve, hoses, and welds.
If there’s a leak, bubbles will form, indicating the source of the problem. Tighten connections where the bubbles occurred. If the bubbles keep forming, you should replace components where the leaks are happening. Release all the air from the tank before you attempt to replace any parts.
Repair or Replace Components
When you’ve identified a part as the source of an air compressor tank leak, determine if you can simply replace the part. Air compressor tank check valves and pressure gauges can be replaced fairly easily. The most common location for leaks to form in an air tank is where the steel is the thinnest, which is where the drain cock is installed. Be sure to regularly drain your tank to prevent condensation from corroding the tank.
Braze Welds and Seams Using a Torch and Brazing Rod
If your soap bubbles reveal that a leaky weld or seam is the issue, brazing could be a suitable repair option.
WARNING: Never attempt to patch, braze, or weld a badly damaged air compressor tank. If rust, large cracks, holes, or other significant damage is present, attempting to patch, weld, or braze the tank can result in explosions that can cause severe injury or death. In such cases, replace the entire tank.
Brazing involves using a torch and brazing rod to create a filler material that bonds with both sides of the joint. To brazing a leaking air compressor tank, follow these steps:
1. Disconnect the tank from the power source and release all the air pressure.
2. Clean and prepare the area around the leak by removing paint, oxidation, and debris. Use an angle grinder to smooth out the seam or weld and expose the source of the leak.
3. Heat the joint evenly using an oxy-acetylene or propane torch.
4. Apply the brazing rod to the joint, allowing the filler material to bond with and seal the leaking weld or seam.
5. Allow the brazed repair to cool. If necessary, recharge the tank and repeat the soap-bubble test to confirm that the leak is fully sealed.
Troubleshooting a leaking air compressor tank is crucial for maintaining efficiency and ensuring safety. By identifying the leak sources using soapy water, tightening loose fittings, and replacing faulty components, you can extend the life of your air compressor. However, never hesitate to consult a professional. Your safety may depend on it.
Recent Posts
-
How to Properly Install a Pulley with a Bushing on Your Air Compressor Motor
Installing a motor or engine pulley may seem simple, but getting it right—especially when it i …Apr 24, 2025 -
Keep Your Air Compressor Steady – Don’t Skip This Simple Upgrade
No More Sliding, Shaking, or Skipping Around If you've ever had your air compressor "walk" acro …Apr 17, 2025 -
The Must-Have 16-Piece Air Tool Accessory Kit for Every Air Compressor Owner
Whether you're a seasoned DIYer, a weekend car warrior, or just someone who owns an air compres …Apr 9, 2025


